Brake and Suspension upgrade
Brake Upgrade: Well I decided with all the power I was going to be making in the future, once my lost parts from Canada showed up, I better be able to stop for red lights and the man. So off to the junk yard to do some research. I found that I could take the rear brakes off a 94 Integra GSR and put them on my car with the trailing arms from the Integra as well. I would also have to transplant the brake cables from that same Integra, so my e-brake would work. I also found that I could take the spindles, hubs, rotors, and calipers from a Civic EX, I could just mount them up with no problem and go. This was of course after I tried a set of Integra GSR spindles which you cannot use I found out because the arms are longer and throw off the steering badly. So the 98 Civic Ex ones worked out. Also don't use the Integra Calipers because the diameter of the cylinder in the caliper is larger and requires more fluid which means you will have to go to a larger master cylinder to have enough brake fluid for them when you stop.
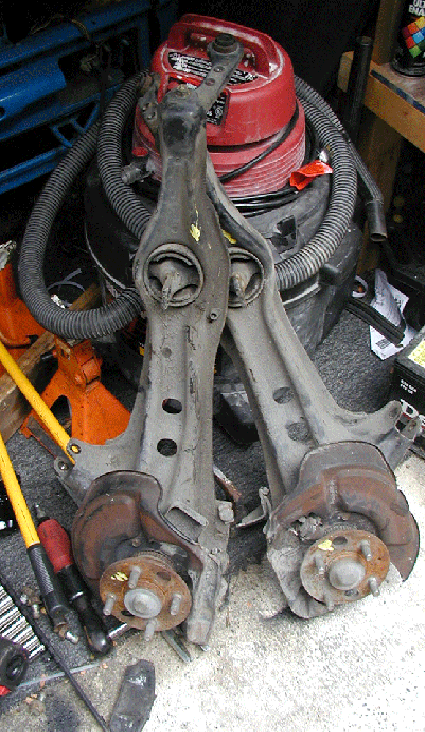
Here are my beautiful rear trailing arms, before I cleaned them up and put new dust shields and hubs on.
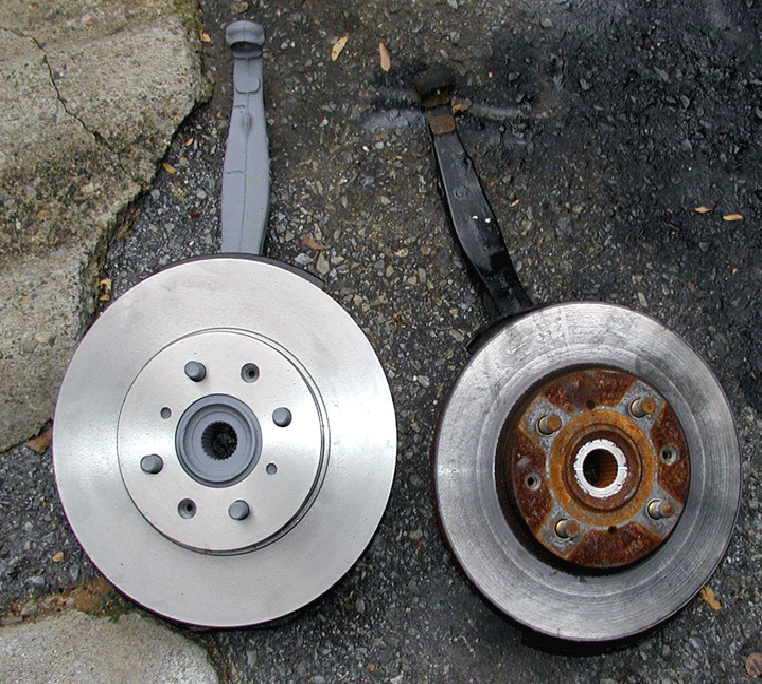
Here is a picture of the new spindles and rotors for my car and the old ones from it. Notice the surface area differance. I sprayed the spindles and hubs so the wouldn't rust.
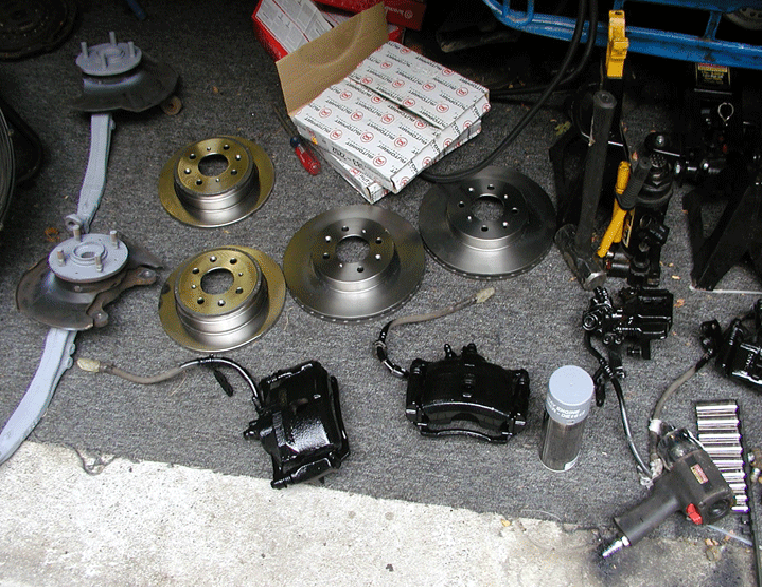
These are most of my new parts for the brake upgrade. I also painted the rotor hats so they wouldn't rust so bad either. And the calipers got a new paint job to make them look less junk yard and more new.
Here is the rear drum brakes that originally came on the DX civics.
This is a pic of the original front rotors and calipers that came on the car.
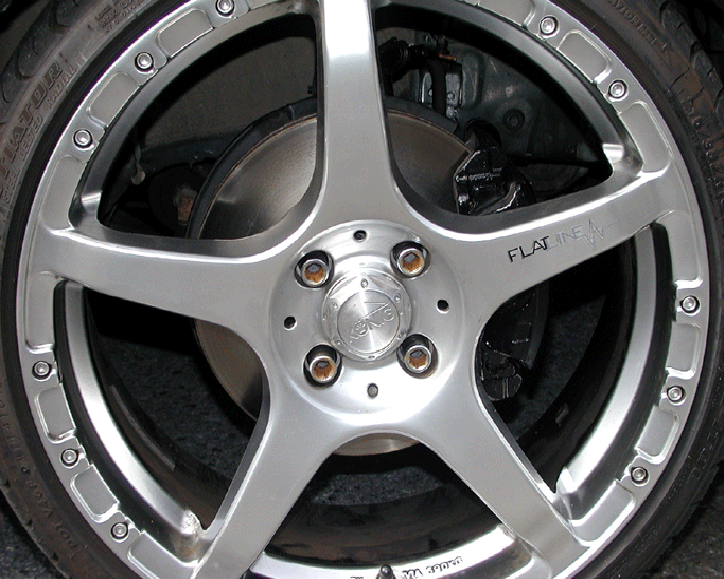
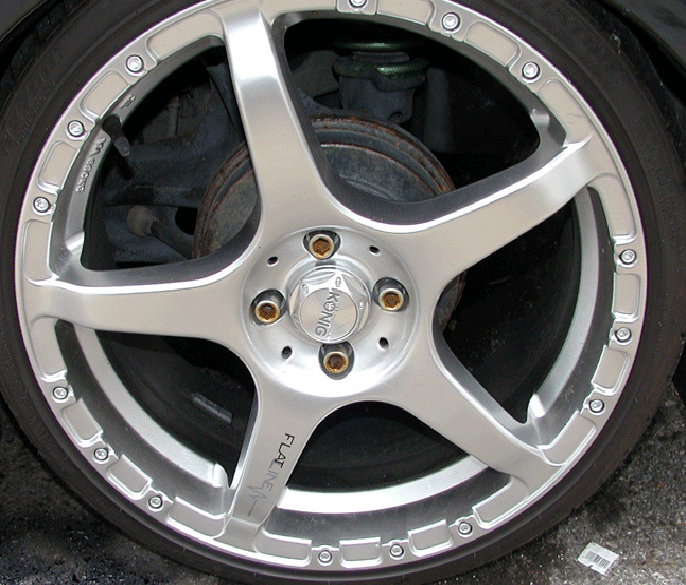
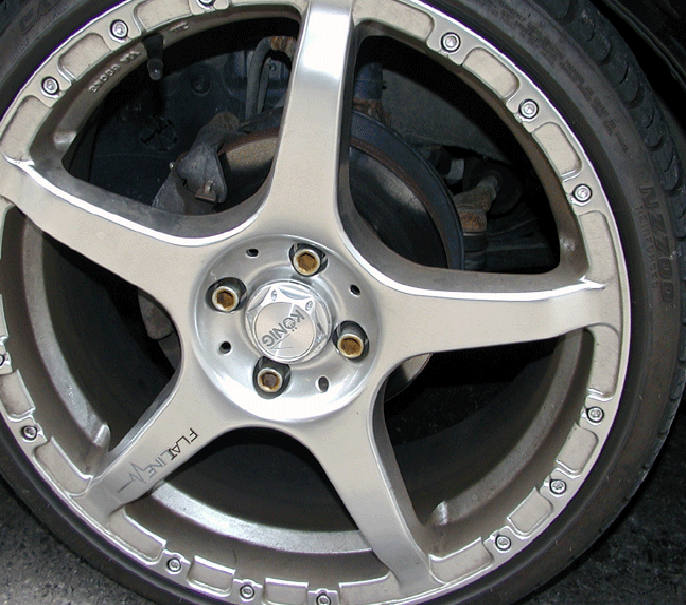
This is the new rotors and calipers from a Civic EX, they are mounted on a 98 Civic EX spindle and hub assembly.
Here is the new rear brakes with calipers and trailing arms from a 94 Integra GSR.
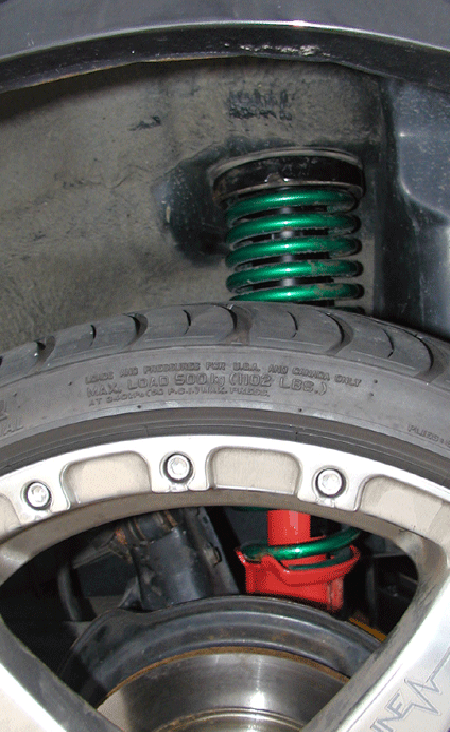
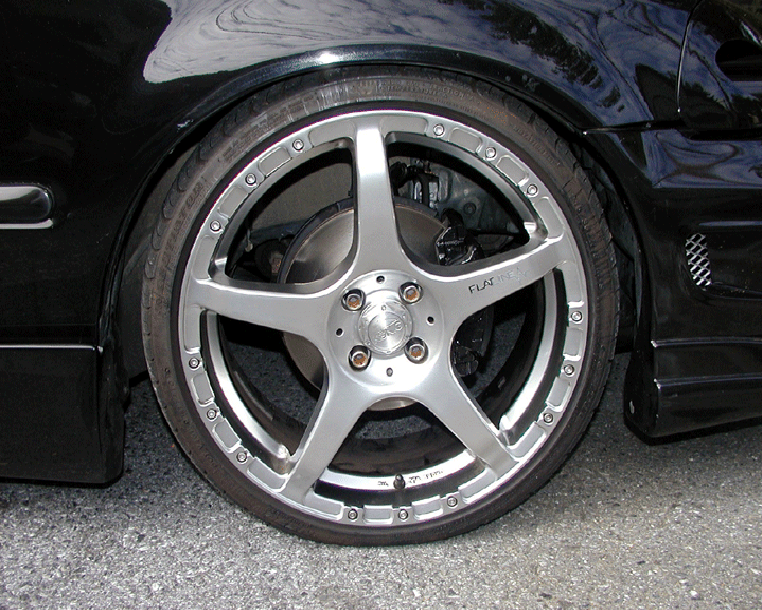
Suspension Upgrade: I also decided to upgrade my suspension on the car. I went with KYB AGX shocks and struts with Tein Springs. The KYB shocks and struts are adjustable as far as how hard or soft the suspension rides. The adjustment is made easily without having to remove the components or jack up the vehicle.
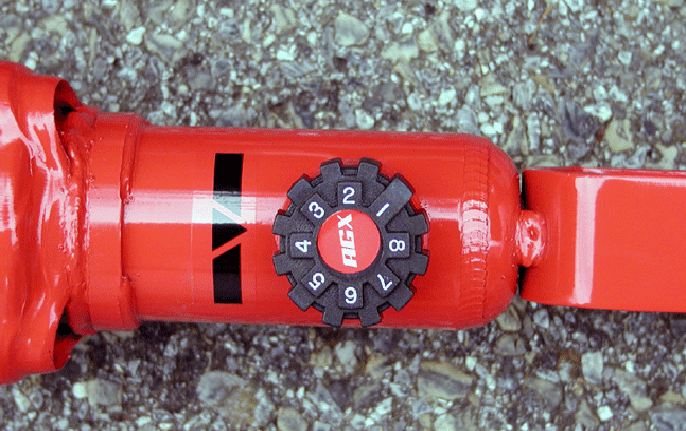
Here is a pic of the rear shock with its' adjustment wheel.
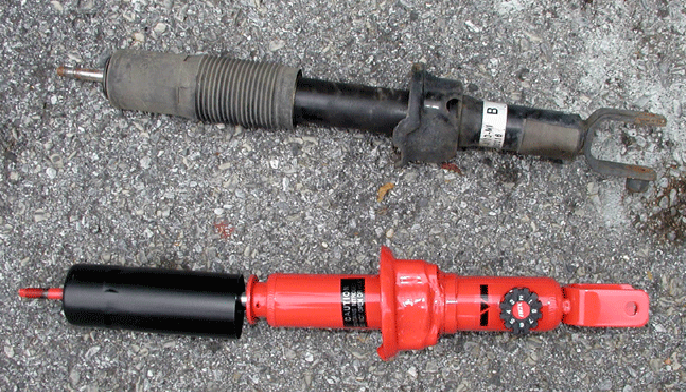
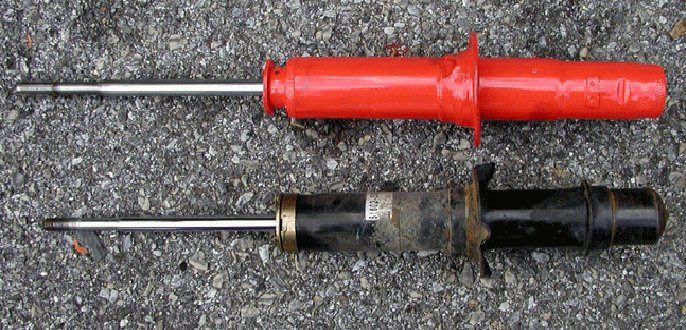
These are the old and new pieces. The red looks cool, but you can barely notice the colors once they are mounted on the car.
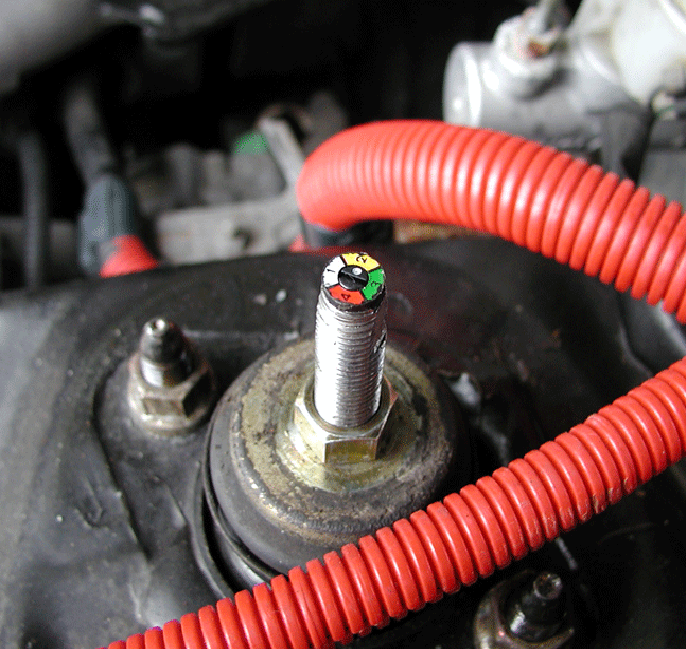
The front struts adjust front inside the engine bay atop the strut tower. Here you use a little fat head screw driver to adjust them, 1 is softest and 4 is the hardest.
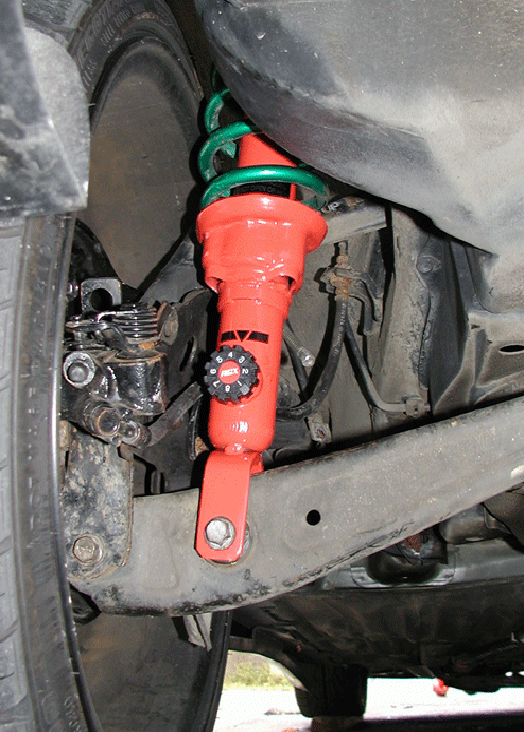
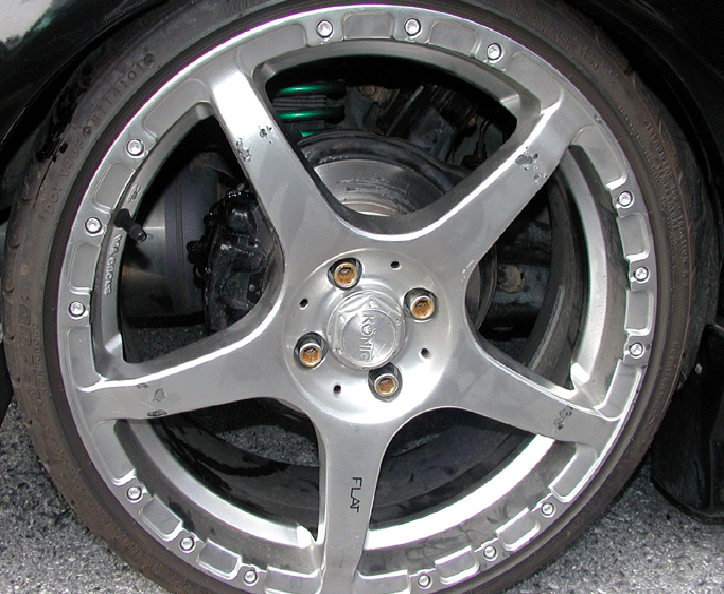
The rear is adjustable by reaching under the rear bumper. Here the adjustment is in smaller increments 1 softest and 8 hardest. See the green Tein springs.